Sending your logs to Railtown AI using Serilog is very simple.
I will create a very simple console application and add the steps to this article.
To completely follow this article and send your first log to Railtown using Serilog you will need to have your account provisioned so you can get the Railtown Key and add it to your project.
Make sure you sign up following this link to our page.
First, let’s open Visual Studio 2019 and create a C# console application. By the way, I am using the Visual Studio 2019 Community Edition.
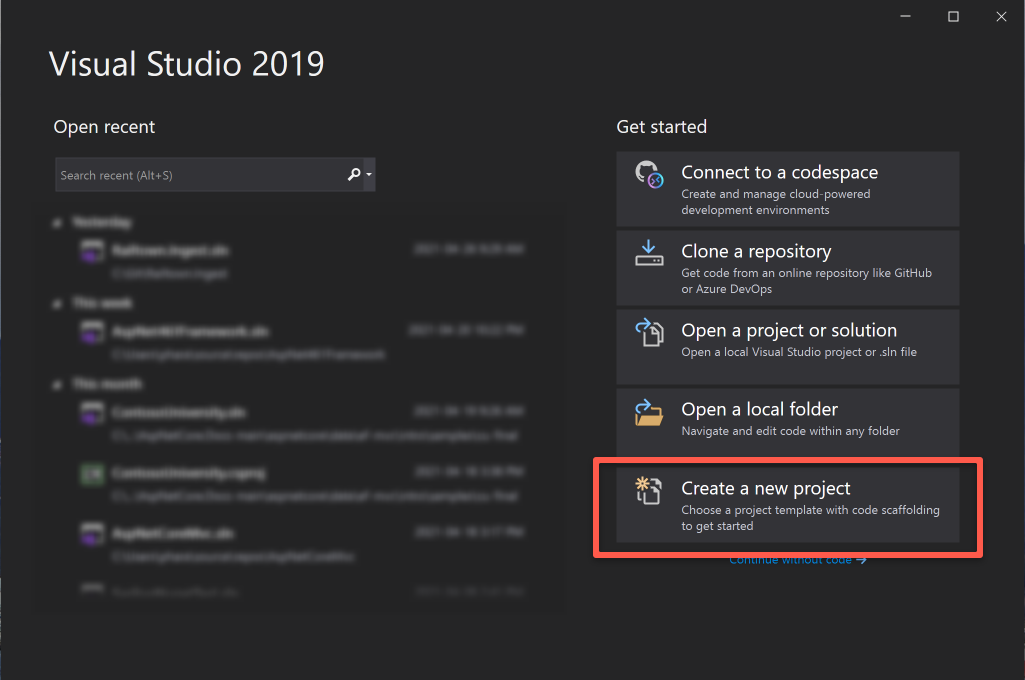
Open Visual Studio 2019 and Create a new project:
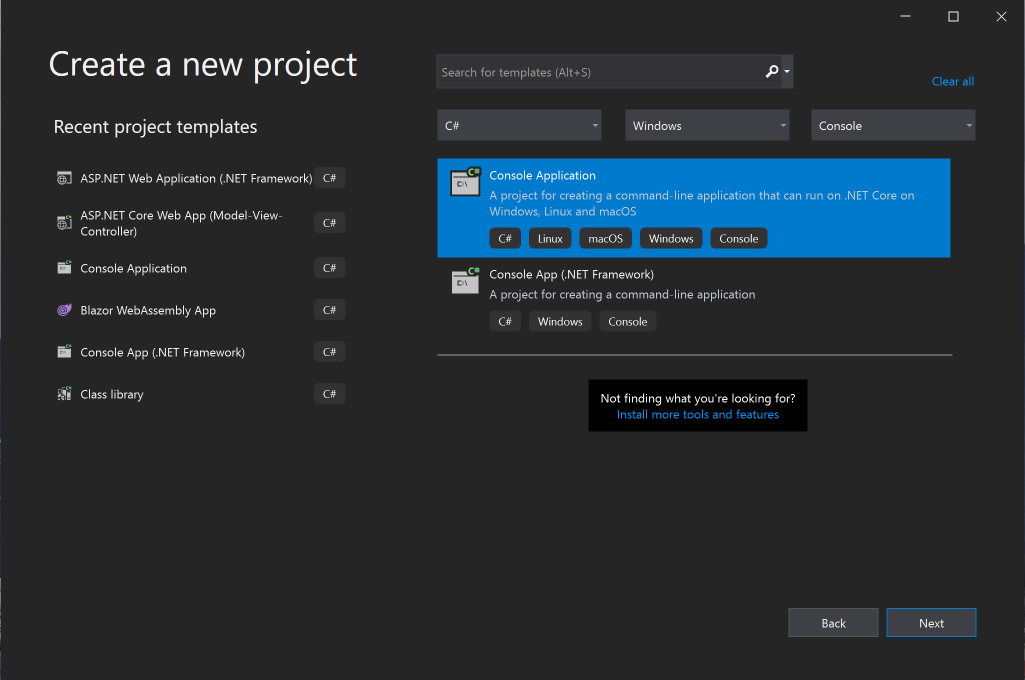
Select C# Console Application:
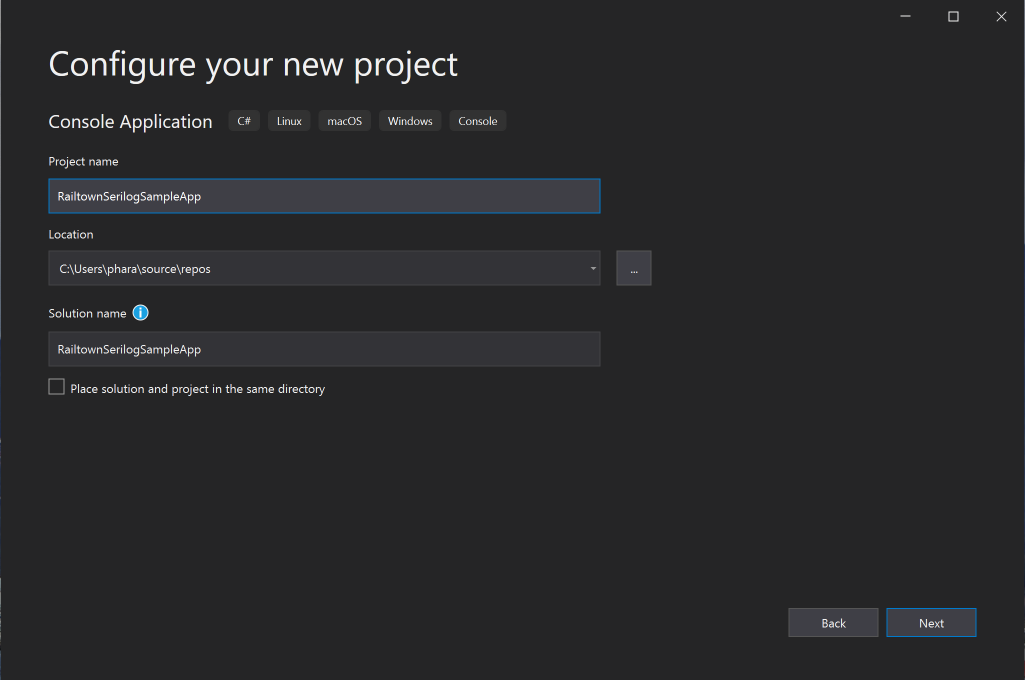
Give a Project and Solution name. I am using RailtownSerilogSampleApp for both and saving it on my personal source repository. Feel free to change to whatever you think is best.
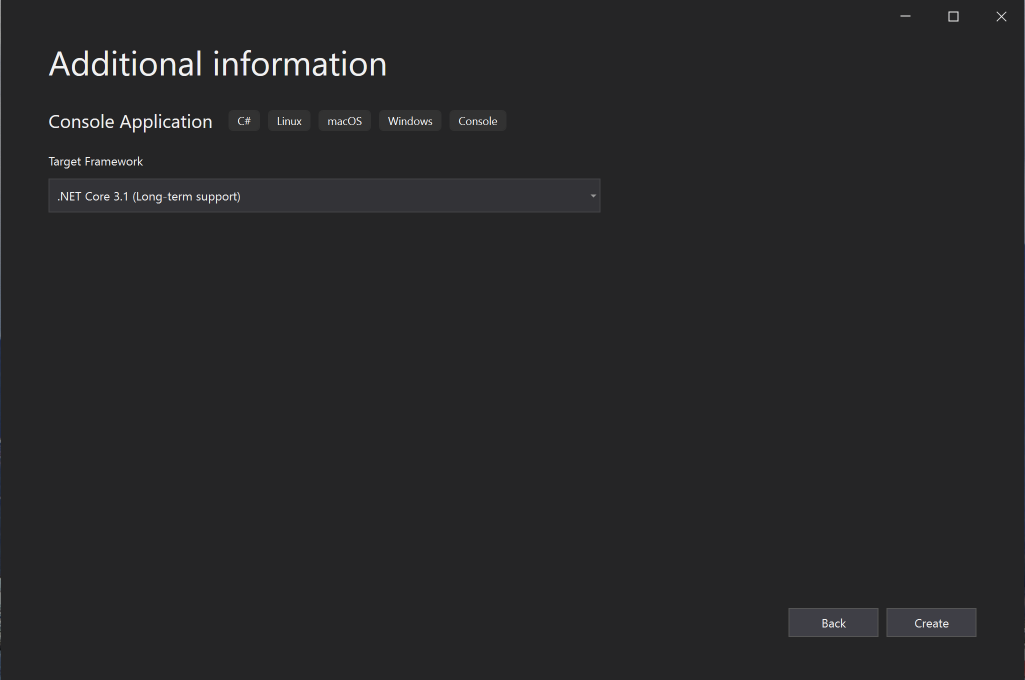
For this example, I am using .NET Core 3.1 as the Target Framework:
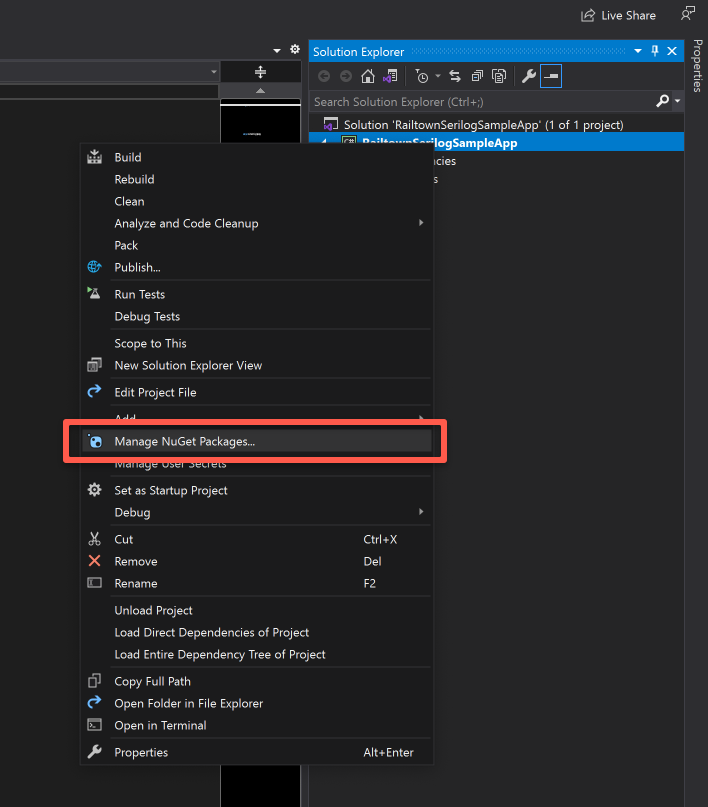
Now, let’s add the Railtown Nuget Package. Right-click at your project and click on Manage Nuget Packages:
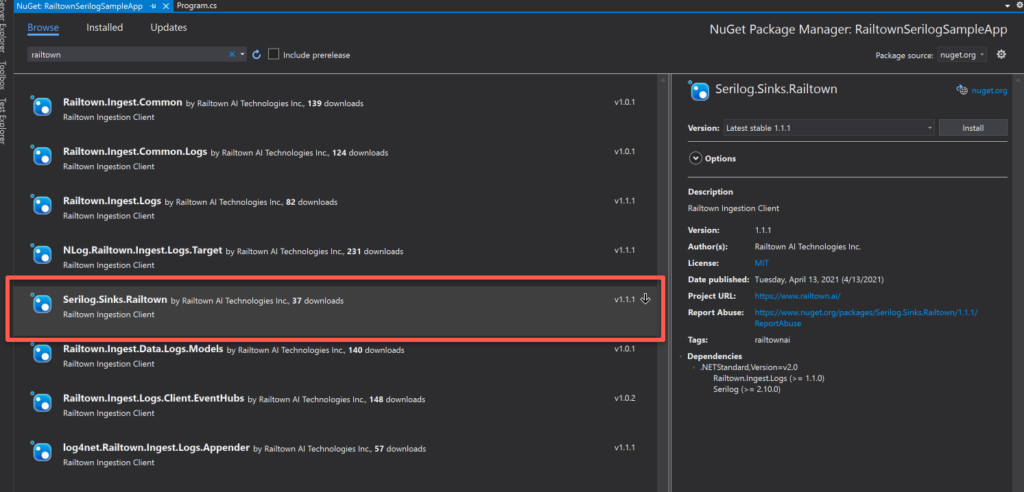
Search by Railtown and you should see the below package list.
Make sure you select Serilog.Sinks.Railtown:
We need to store and pass the Railtown Key so that our Serilog Sink can identify your project and environment properly.
Once your account is provisioned, you can log in to Railtown and get your Key.
The following page should show after a successful login:
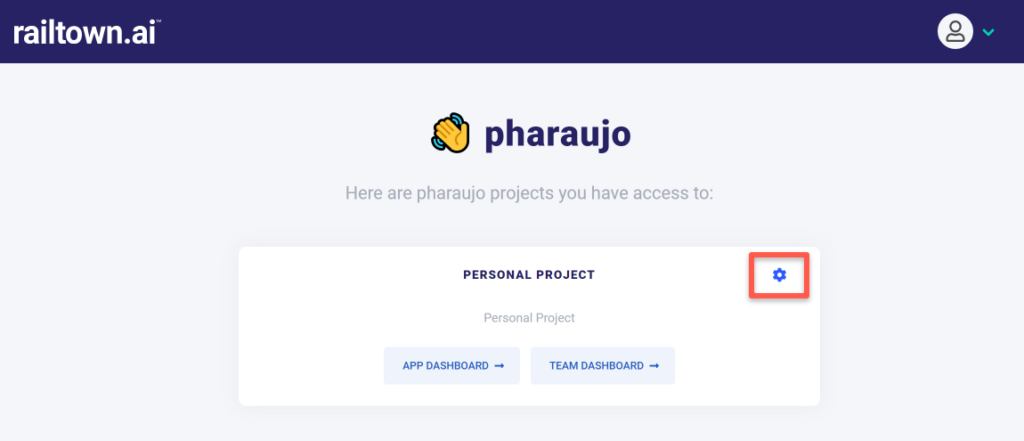
After clicking on the highlighted gear icon from the above screenshot, you should be redirected to a page where you can configure your environment and also get your Railtown Key.
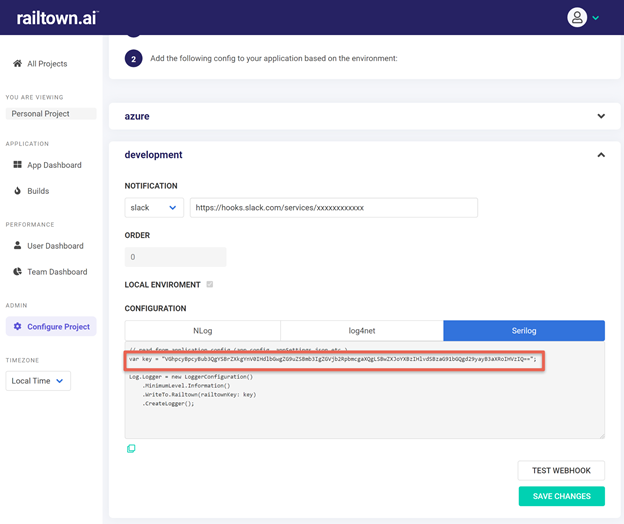
This is how the configuration page for my personal project looks like. Note that I expanded the development environment and selected the Serilog Configuration tab. As you can see this page already shows how to connect Serilog to Railtown.
For this sample, we will need to copy only the key which is highlighted in the screenshot below.
Now let’s add the key to a configuration file so we can retrieve it later and pass it as a parameter for the Railtown Serilog Sink.
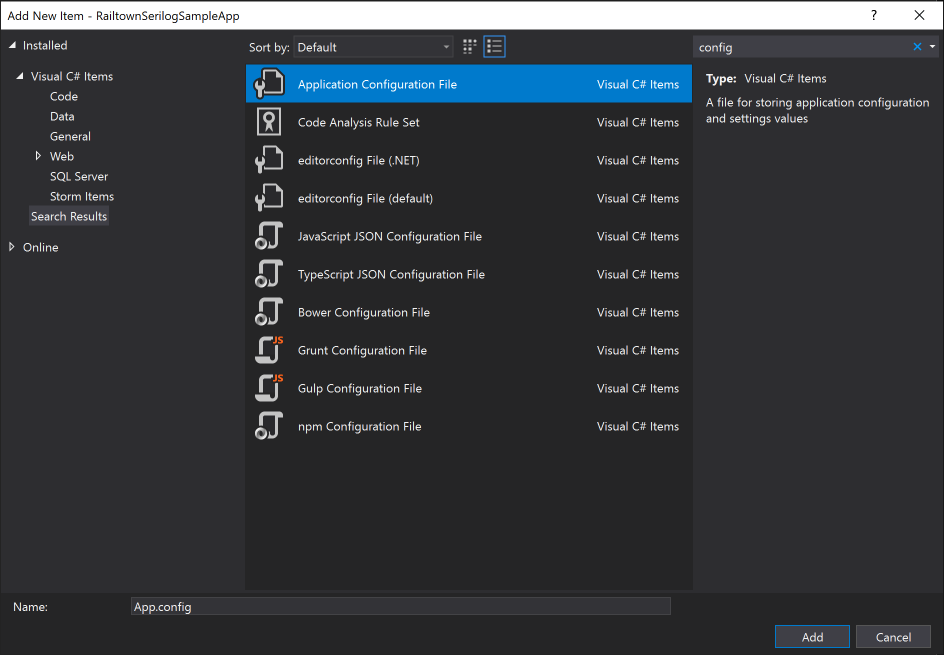
Add an Application Configuration File to your project and name it as App.config:
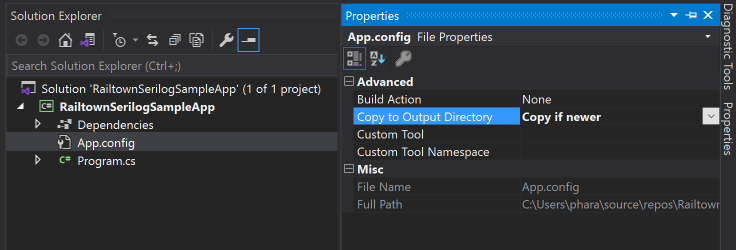
Make sure to set the Copy to Output Directory property of the config file to Copy if newer.
Your App.config file should have the appSettings section and the RailtownKey as the Key and paste the key that you copied from the project config page:

Now for the final step, let’s create the code and send the first log to Railtown.
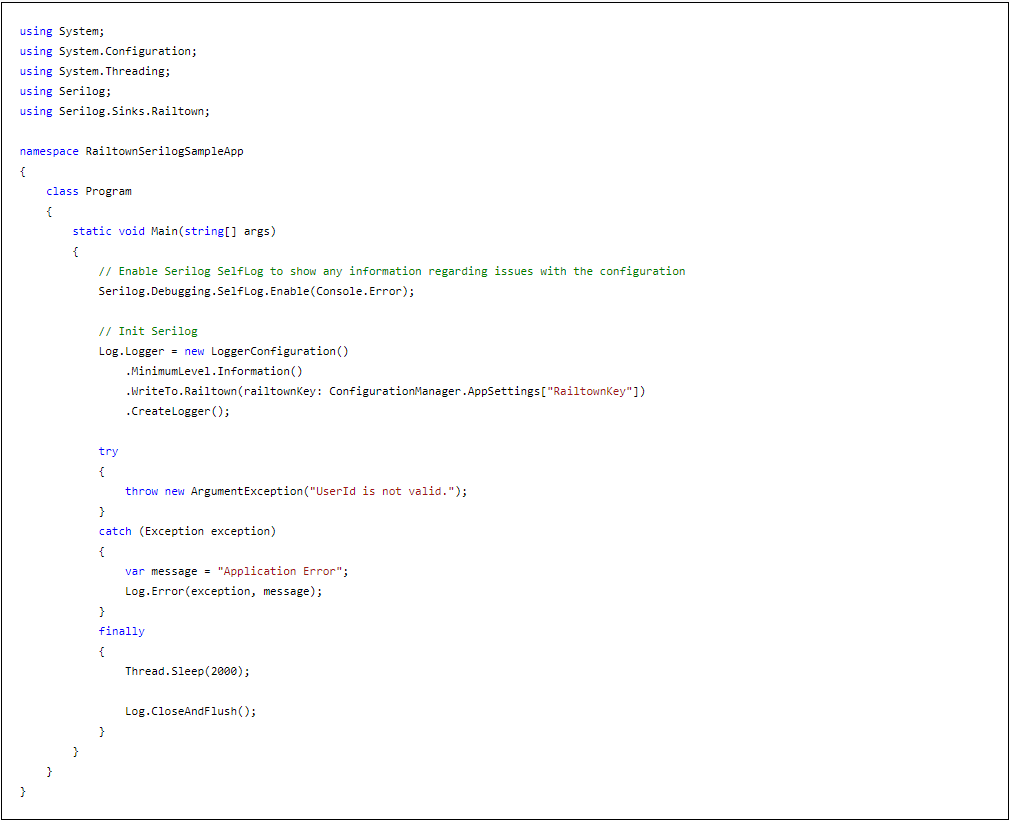
Open the Program.cs file and copy the code below:
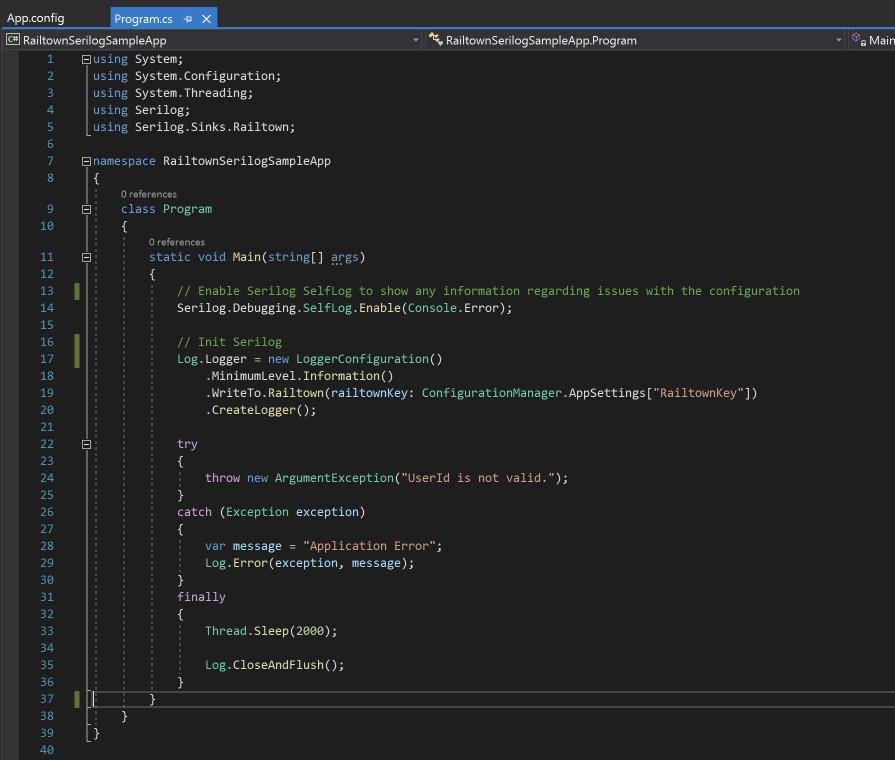
Code:
Log in to Railtown and you will be able to see your first log which should look like this one:
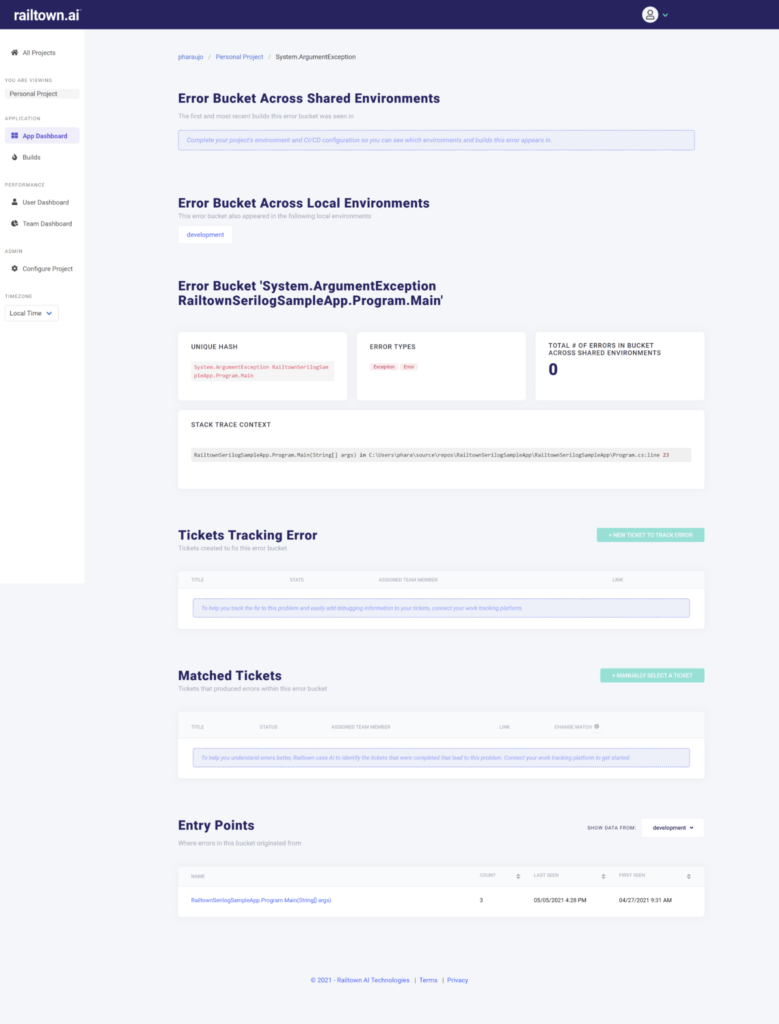
Now you see how easy it is to set up Serilog integration start using it in your applications today and let us help you improve the quality of your software.


